
Part 5 – All The Little Mods
Mini-Modziller
One of the fun things about owning a 4WD is modifying it. Seriously, I get so much satisfaction in making improvements to my car. Before I get to mods I intend to make to the camper, which we haven’t even got yet. I thought I would start with mods I have made to the Pajero.
Most of my mods have been minor, I haven’t lifted the suspension or anything like that and at this stage, I don’t intend too, why? For a few reasons, firstly, I like the ride it has now, lifting a car can make it more a harsher ride. While that depends on the suspension you get, I don’t want to tinker with what I already like. Secondly, because of my best friend, Sabre. Sabre is 11 years old and he is finding it harder and harder to get into the back of the car. We have tried getting him to use a ramp and it has been hit and miss, I think it will come to him having to use one every time one day, but for now he can still jump in the back, although it can be a fight for him some days. For us, he is the most important reason why. The third reason is I have less than 2” of clearance in the garage and I like having my car in the garage. For now, it stays standard height.


Enough about what I haven’t done. Let’s get on to what I have done.
First thing I did was put in a decent head unit. The Pajero came with a 6 stacker CD player and considering I haven’t purchased a CD in over 10 years, it was pointless. I purchased a Pioneer DMH-Z6350BT, which has wireless CarPlay. I’ve had CarPlay head units before in my previous car, but it was wired and having to plug in all the time is a pain. So wireless was the way to go and I love it. The screen is not huge, but it does the job well and it sounds great too, I’ve always been a Pioneer man and was glad to be back with them. Having had installed many a head unit over the years, this was an easy job using wiring harness’ you can purchase online.
Below the A/C controls was a useless business card holder, apparently this is what people wanted in 2009 (no one did). Some people just replace it with a giant empty slot, some replace it with switches for different things. I wanted to do something custom and I came across this guy (Colin Spence) out of Perth who 3D prints them. I told him what I was after and for what was I think the bargain of the century, he made a custom unit for under $100. I think he charges more now and I don’t blame him. Basically I wanted a slot for my phone that also wireless charged my phone. I found a charging pad on eBay that I had been using that was designed for cars. It was perfect. So I gave him the sizing and he made it for me. It also has 2 buttons and 2 USB ports, one goes to the back to of the head unit and the other is just charging. I’m very happy with it and you can find his wares for sale here.
I also installed a basic UHF unit. It’s just a OCOM that has the display on the hand unit, so the brain is tucked away behind the head unit, it works well.
Note that the dash insert does not look green in real life, it’s more a grey than green.
(Excuse the dirty centre console, I know, I know, it needs a clean)


King Mod
I installed two cameras at the back, one for reversing and one that is currently mounted next to the tow bar. This lets me monitor the tow bar after we first pull away, this is just for peace of mind to make sure I hooked it up right. Although I am thinking of moving that camera to the back of the camper once I have it, for reversing.
When we got the Pajero, it had some basic roof racks from SuperCheap. Just two bars and that’s all. I replaced them with upgraded versions of the bars so I could mount an awning. But they sat up high on the car and I was never 100% satisfied with them. I liked the look of the aluminium flat racks, but the Rhino Platforms were stupidly expensive. Then I came across the Rola Racks, again SuperCheap sold them, but I got them on sale for half the price of the Rhino ones and have been great. Strong and sturdy. I did have to purchase low profile mounts which cost too much IMO, but it was worth it. The flat rack sits nice and low and there is plenty of room up there. Rola also make mounting accessories for shovels, gas tanks, recovery tracks and so much more. I admit I have a few of them and some I probably wont use again. But you never know.
The Pajero came with a bullbar thankfully, and it’s an ECB if you are wondering. These are highly rated bull bars and are not cheap. I didn’t like the look of it at first, but once I added some spotties on it, now I love it. The spotties are just Kings brand. They work well, so they will do for now.
On the back I added some work lights off the flat rack that I have a switch for in that slot I told you about. I’ve used them when reversing as well, very handy.
I started going down the route of installing a 3rd battery under the floor in the back and while I still have that intention, it’s on hold for now. There is a 2nd battery under the bonnet, it’s not very big, but it works well to power the fridge a short time.
Recently I added a Kings shower awning to the drivers side of the car. This is already come in handy on our last camping trip. Good buy.
That’s pretty much about it for mods I have done.


The future mods for the Pajero.
Like I said, I have no intention of lifting the car yet and I like the 6 spoke wheels that camper with it, not into black wheels.
The main mods I am working on at the moment all have to do with the future camper we have on order.
Firstly, an Electronic Break Controller or EBC. This is a must for any trailer over 750kgs and of course, this trailer is. The leader of the market here is Redarc with the Elite Pro. I’m in the middle of installing that and I’m about half way through. I have installed the brains and the control knob. Just need to finish wiring it up to the back and the battery. The EBC controls the brakes on the camper and adjusts how much brake to apply when you brake. It is adjustable and it has an override button. This comes in handy for say if you get a sway going, hit the button and it puts the backs on on the camper and pulls it back in line.
Secondly I am running power to the back so that I can charge the batteries in the camper off the alternator. I am simplifying this and running an Anderson cable from the battery to the back where I have already installed an Anderson plug at the back. Kickass have a pre-made wiring kit that makes this easy. I’ve started the run (like above), but haven’t finished running it to the back yet.
Thirdly is a suspension upgrade, but not a lift. One of the things I have told is the camper will put a lot of weight on the ball of the tow bar and this will sag the rear end. This causes problems for handling and tyre wear. So I am having airbags installed in the springs. This lets you manually pump or down the rear suspension. Firstly you measure the height of the rear arch to the centre of the wheel, then put the trailer on, then using a compressor, you pump up the airbags and bring them back to where they were before you put the trailer on. It’s very simple method that works. I already have the airbags, but I am having someone install them for me.
———
These are the mods I want to have done before we get the camper which will be easy. Two of them I will have done this weekend I hope and the other in the coming weeks. Beyond this, I also plan on installing a solar panel on the roof permanently and adding a DCDC charger to the back of the car and permanently mounting our exisiting AGM battery under the back floor. This will be used for running a fridge and lights for solo/with mates camping adventures where I don’t take the camper. For now, I just setup our solar blanket.
Next week I will take you through the camper trailer mods I have planned. I know it seems silly, but I have already seen so many awesome ideas from current owners.
I hope lockdown hasn’t got you down and I hope you enjoy the weekend.


Recent Posts
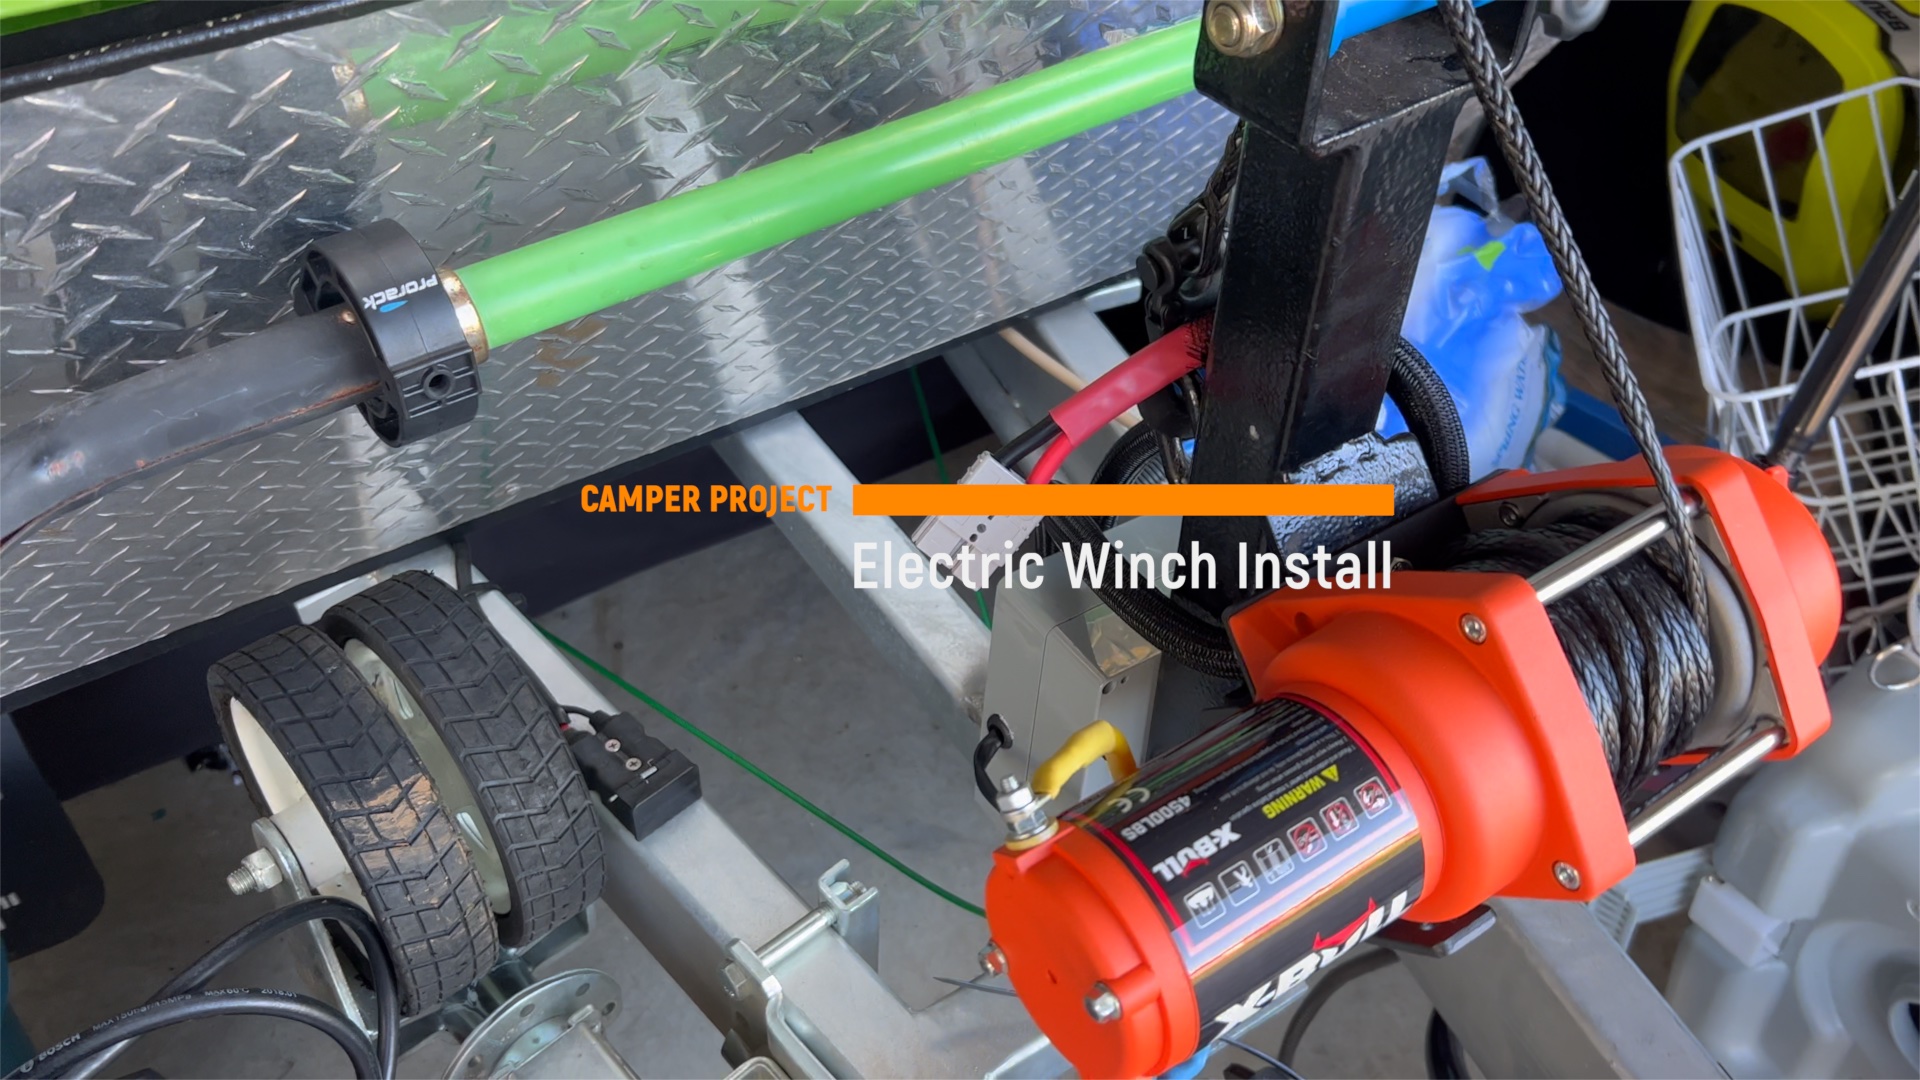
This will make you winch…
Two videos in two days? What's the world coming too. Just a video to show what new mod I made to my camper, why and how I did it and [...]
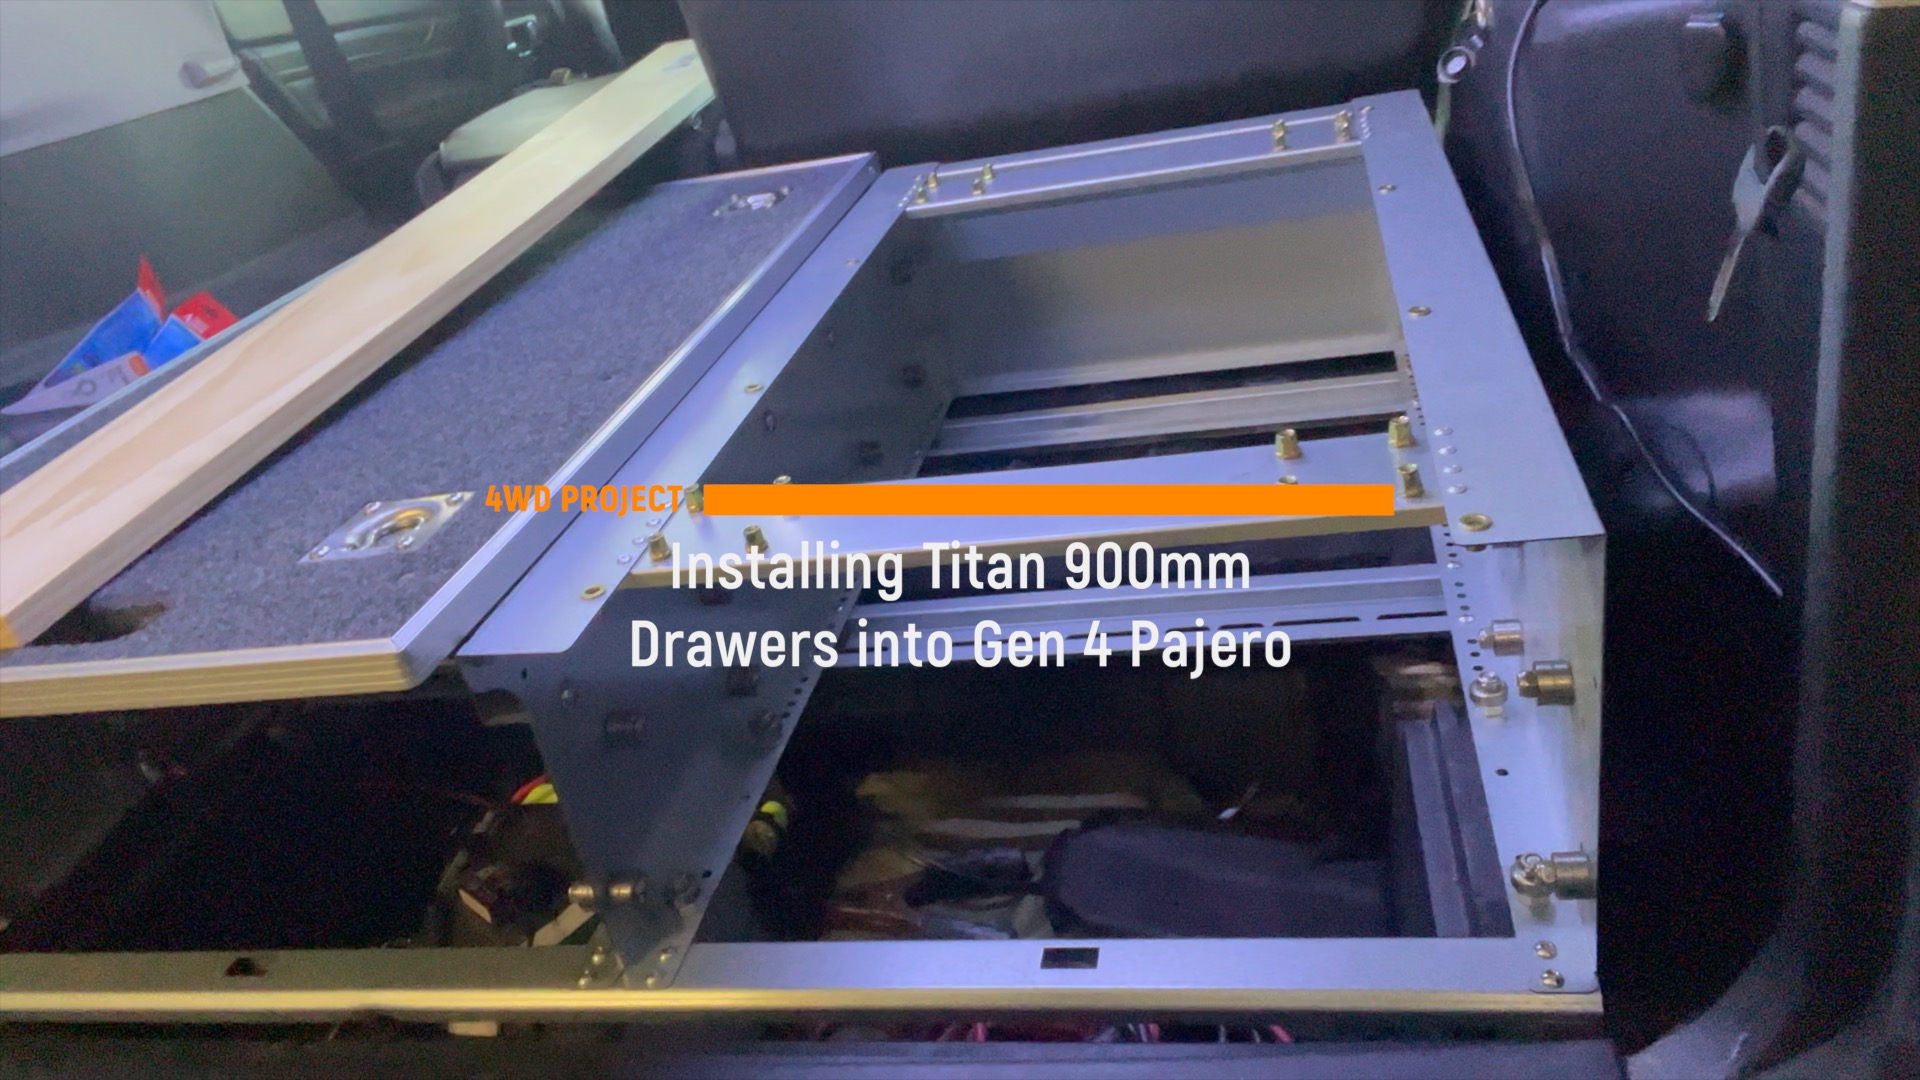
My mum always said, ‘Never have dirty drawers…’
It's video time. I actually posted this a few months ago on Youtube and forgot to put it up here. Anyway, I recently purchased some new drawers for the back [...]
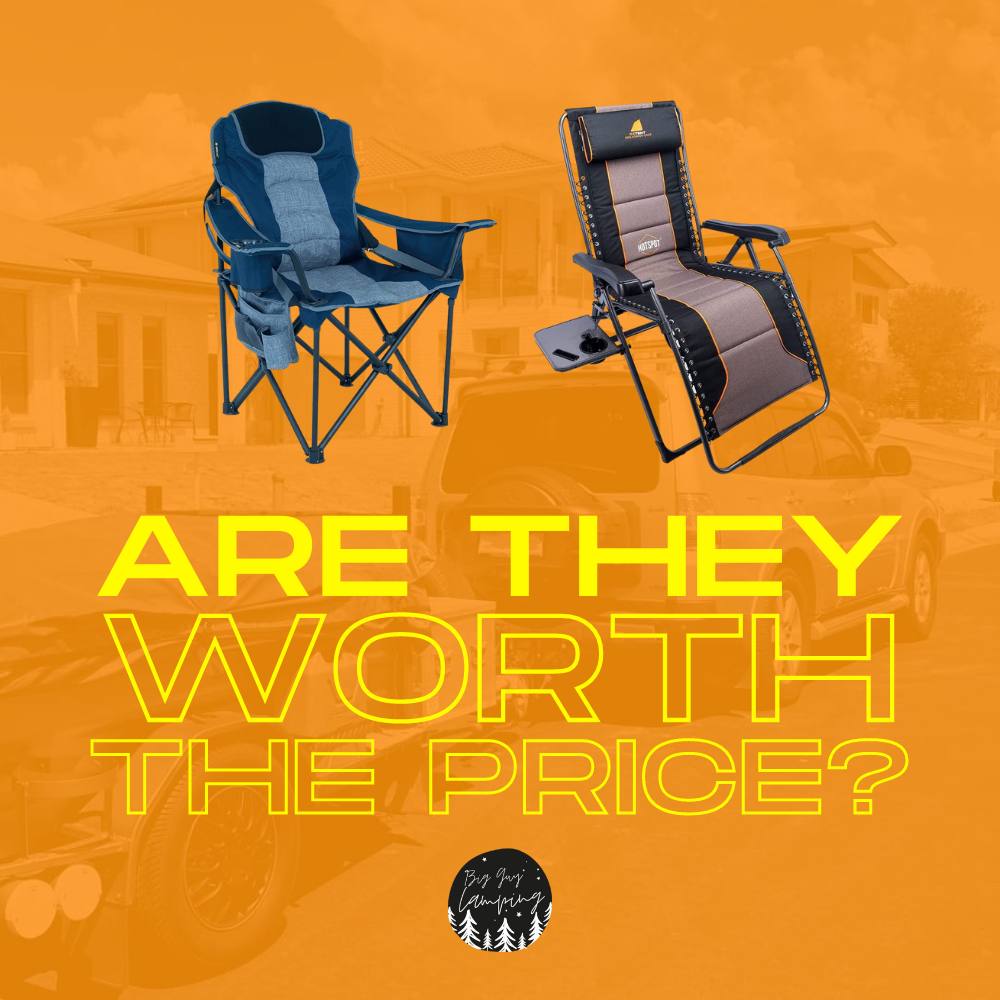
Episode 2: Camping Chairs & Choosing a Camper Trailer
In this episode I review two camping chairs with a high weight rating and also talk through the many types of camper trailers to help you find the one to [...]